| | | MÅRD Tech Talk, Part 2 - Terrain | | Apr 6, 2017 | | | | |
|
| | Long time no see, and welcome back. In this part I am briefly going to talk about bulding terrains in my latest game "MÅRD". |
| |
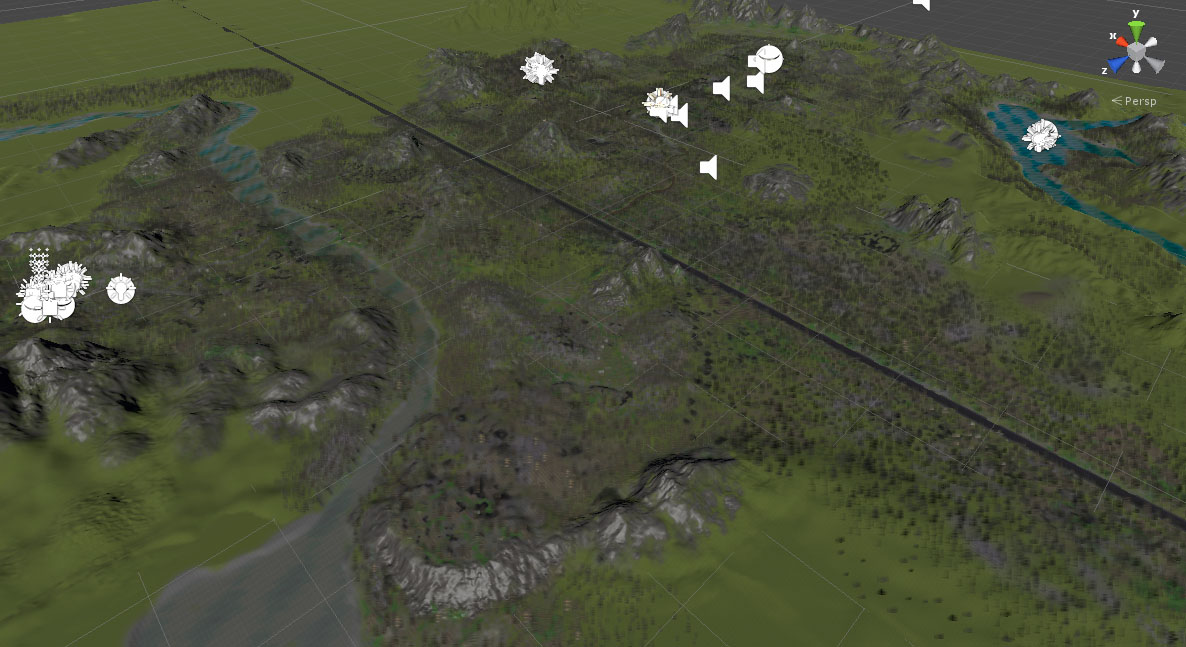
| | Starting outNow, since the development of MÅRD is far ahead my terrain is near completion, so let's assume we're starting from sratch. For the project of MÅRD I am only using Unity's built-in terrain tools and no third party extensions. This method however, can be very slow and tedious when working with very large terrains. Click the image on the left to see the progress of my terrain. |
To start off, you are going to select from the top menu: GameObject -> 3d Object -> Terrain, to create your terrain object. In the hierarchy you will now find a new GameObject with 2 components attached: Terrain and TerrainCollider. Initially the terrain will be completely flat, this is because you first will need to set a few parameters in the Terrain component. Click on the cogwheel icon to bring up the Terrain settings. Here you will first need to set 6 of the most basic settings before you can start painting your terrain. Check under Resolution: here I have set my terrain to Terrain width: 3000, Terrain length: 3000, Terrain height: 600, Heightmap resolution: 4097, Control texture resolution: 1024 and Base texture resolution: 1024. Now you will have the most basic settings set in order to begin painting the terrain. |
|
| |
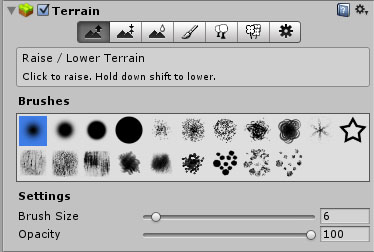
Painting some heightOne you have the basic setup done, switch over to the first tab: Raise/Lower terrain. Here you will find a selection of brushes that you can use to paint some height on the terrain. For the most basic stuff you will mostly focus on the first 4 brushes, but once you will need some more detail you can experiment with some of the other types of brushes. They can help you get some more rougher surfaces to your mountains. Now, select a brush and start painting on the terrain and you will instantly see your terrain taking shape. Set your brush size and opacity to control how big surface your are going to paint and how hard the brush should be. Hold down shift while painting to lower the terrain. This can be useful for making rivers and gorges. If at any point you find the surface to be too rough, switch to the Smooth height tab to smooth out the rough parts. To see what's happening more clearly, you may want to set a base texture or try switching off the scene lights. |
|
|
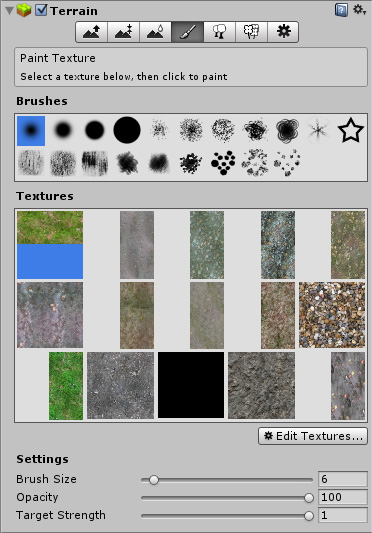
Adding texturesIt's time to add some textures to the terrain, not just to add more detail but also to help out in the painting process to see the results more clearly. Using the default white material may make it difficult to see what is going on with the terrain height. Click on the paint brush icon to open up the Paint texture tab. Here you will add all textures to be used for the terrain. Click on the Edit textures button and then Add texture. A new panel will pop up where you can select a new texture from your imported assets and also a normal map to go along. The size and offset paramters controls how your texture will be tiled along the terrain. Higher size paramter equals less tiling. Select a brush and set the desired opacity for the texture to be painted. Lower opacity value make your textures blend together on the terrain. |
|
|
| | | Make your terrain stand out | | |
|
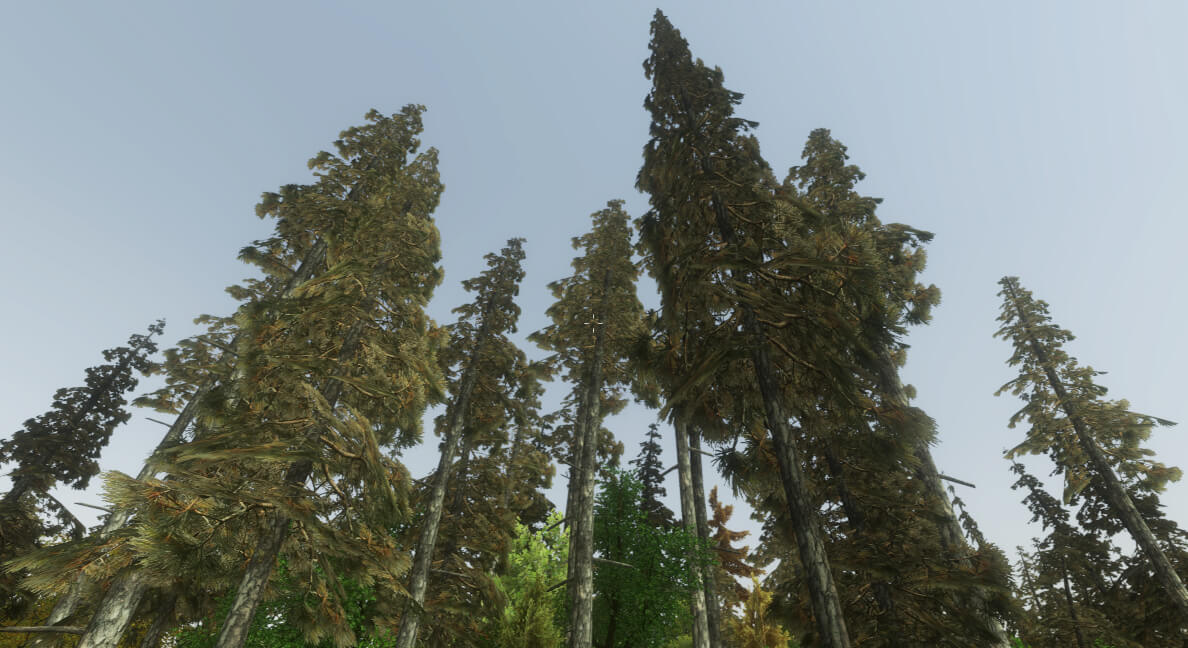
| | | | | Adding treesLet's add some trees. Click on the trees icon to open up the Place trees tab. Like with the textures tab, you can here add new assets by clicking the Edit trees button and then Add tree. A new panel will pop up where you can select a tree prefab from your assets. This can be a imported model or a tree made with Unity's built-in Tree generator. For my terrain I am using tree models. Here, the Bend factor parameter is an interesting setting that I missed at first and one that you will definitely want to play around with. It controls the bending factor of your tree model and how much it will bend and sway in the wind. This is a quite sensitive setting so you will want to keep it within a 0-1 range. One you've selected a tree prefab you can select it and start painting new trees on the terrain. To make life a little easier, there's an Mass place trees button that will randomly place the selected tree across the terrain. Side note: to utilize Unity's ambient occlusion lighting for trees, the models need to have only 2 materials that are set to the Nature bark/leaves shader and be placed in a assets folder called "Trees-Ambient-Occlusion". Unity will now automatically detect these models and set them to use ambient occlusion lighting. |
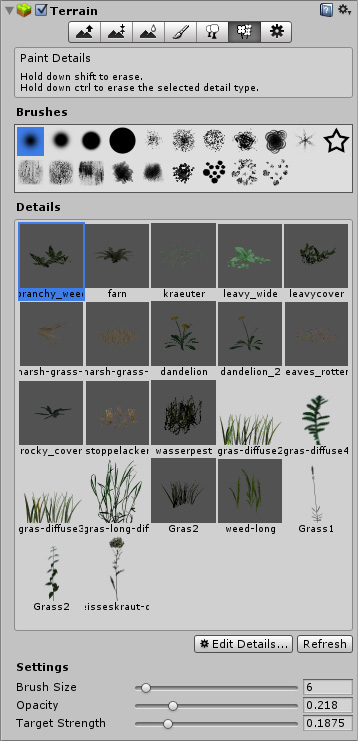
| | | Adding vegetationPainting textures and adding trees can be fun, but there's still one important part missing that will make your terrain come alive and that's grass and vegetation. For this you will need to click on the icon with flowers to open up the Detail panel. This will look familiar and I am guessing you already know what to do. Click on the Edit details button, which will give you the options to add a detail mesh or a grass texture. The grass texture is a simple plane which you add a texture to. A detail mesh is a imported model just like the trees, with the exception of being limited to a single material for optimization purposes. Select either option to bring up the popup panel. For both detail mesh and grass texture you will get the option to set a Dry color and Healthy color. Your model or texture will be tinted with these colors to create a nice blend of colors. Try experimenting with different colors to see what best suits your terrain textures. |
| |
|
| | This has been......a quick and dirty quick start guide on how to setup a terrain in Unity and start painting height, textures, trees and detail. I touched only lightly on the different parameters you can set, so there is plenty left for you to play around with.
More updatesIf you want even more updates then don't forget to subscribe to the Black Curtain Studio newsletter below. Newsletter subscription |
| |
|
|
